I recently planned to compile my Phaser games for iOS App Store. These games were build using Cordova CLI and have already been published on Android Store so I already have a functioning game which was to be ported to iOS. I decided to document the steps I had to follow to get my game compiled and published to iOS App Store. You can develop the game on any platform of your liking but in order to compile and publish these games to iOS App Store you do need to have a Mac. It can not be done from Windows or any other platform.
Steps to compile the game:
- Download MacOS installer for Node.js and install it on your Mac.
- Go to App Store on your Mac and install latest version of XCode. You need XCode to build the game.
- Open Terminal console (Finder -> Applications ->Utilities) on your MacOS and install cordova using npm utility of Node.js by using the following command
sudo npm install -g cordova
- Create cordova project by using the following command
cordova create mygame com.games.mygame MyGame
- You will now have a mygame directory under /Users/<Current User> which will have skeleton project files of a cordova project.
- Copy your game code in www folder under the cordova project folder.
- You would need to modify config.xml to configure your game settings.
- Go to project folder in Terminal console using following command
cd mygame
- Add ios platform in the project by using following command
cordova platform add ios
cordova prepare
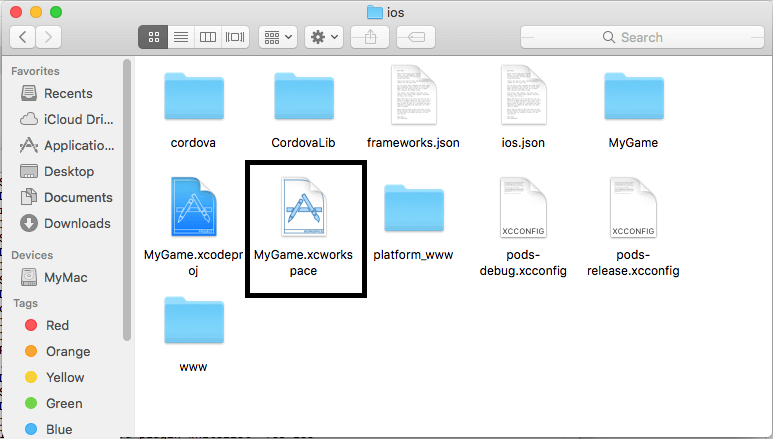
- This will import all plugins and cordova code files required to build your app. Now you can go the project folder and open the project in XCode and use it to build and test your app. Go to Finder and navigate to project folder on your MacOS. Go to platforms -> ios folder and you will find .xcodeproj. Click .xcodeproj which will launch the app in XCode.
- Once project opens in XCode, you can test the code by running it in a simulator.
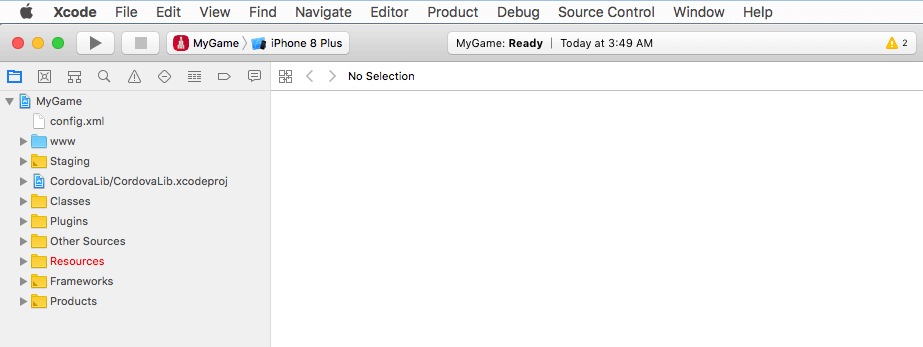
- In order to build the code and run it on a device you need to go to Product -> Destination from XCode menu bar and select “Generic iOS Device”. Then build the application by going to Product -> Build. In order to generate .ipa file to test on a device, go to Product -> Archive which will generate archive and you can download it and then copy ipa file to your device and intstall it there.
- Creating developer build or production build requires you to create provisioning profiles for the two separate builds (one for development and one for production) and set these profiles in XCode. Without these profiles your build will fail. Profiles are not required if you just want to test the app in a simulator which is automatically packaged within XCode. Provisioning profiles can be created and downloaded from your Apple developer account.
https://developer.apple.com - Once the archive is generated and downloaded, you can copy .ipa file to your device. I use this awesome service which lets me upload the build on a server which I can download on my device using the generated URL and install for further testing.
With these steps, you would be able to test your application for iOS device.